
Home | My Brewing | Ingredients & Kits | Build a Mash Tun | Brewing Info | Links
How to Make a Yeast Starter
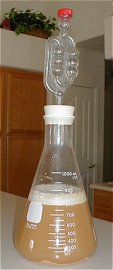 Making
a yeast starter isn't that hard to do and it doesn't take that long either.
First of all, you need to determine if you really need a starter. Most batches
of brew don't even require one. White Labs states that you should make a starter
for brews with a starting gravity of 1.080 or higher. In other words, high
gravity beers. You might also need to make a starter if you are making a
10-gallon batch. One thing to keep in mind is that you will need to make
your starter 1-3 days before brewing the batch that you will be pitching the
starter into.
Before you start making your starter, you need to cleanse and sanitize
everything that will come in contact with your wort. Once you are certain that
you have a vessel free of germs, you can start mixing up your wort in the mini
fermentation vessel. I like to use a 1000ml beaker since I can use this right on
top of my stove. If you can pasteurize and ferment in one vessel right up until
pitching, you are less likely to introduce some unwanted bacteria in the
process. The beakers are handy since you will most likely not be needing more
yeast than you can produce in 1000ml of wort. Other items that you will need if
you use a beaker are a #9 1/2 rubber stopper and a standard fermentation lock.
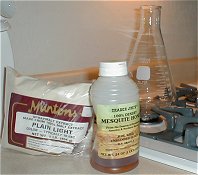
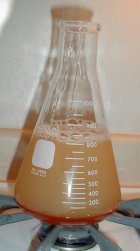
What you make your starter with depends on what you are brewing. If you are
making a starter for a beer, use some liquid or dry malt extract. I like to use
the dry because it is easy to measure. The suggested ratio for a 500 ml starter
would be around 2 ounces of dried malt extract to 400 ml of water. I use the
light or pale malt since it is neutral in color.
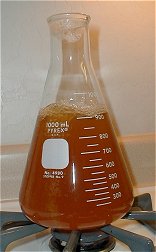
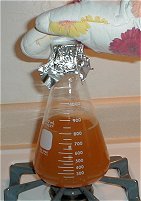
Once you have mixed your ratio of fermentable sugar to liquid together, you need
to pasteurize the mixture by either raising the contents to 185 degrees, or
higher, for a period of at least 20 minutes. For beer starters, I will boil the
contents for about 20 minutes. If you are using your stove, boil with caution as
you can create a sticky mess with a boil over just as easy with a beaker as with
a brewpot. After you have pasteurized the wort, put a piece of sanitized tin
foil over the top and take it off the heat source. Just like when you brew a
batch of brew, you must now cool it down to pitching temperature.
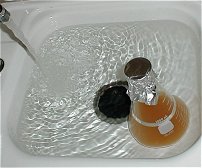
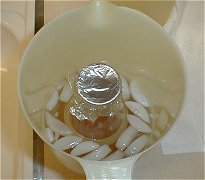
Cooling your beaker down to pitching temperature can be accomplished by
circulating some cool water around the vessel until it cools down to 70-75
degrees. How do you know that your beaker is 70-75 degrees? Test the temperature
in comparison to your yeast container, which should be at 70-75 degrees. If you
have warm tap water you can use a pitcher to give the vessel an ice batch for a
few minutes. Watch out though as you can chill it down too much! Don't mix a
heated beaker fresh off the stove with ice as you can have some cracked up
results. After you have chilled down to 70-75, remove the foil top and pitch
your packet or vial of yeast into the starter, and seal the container with a
sanitized stopper and fermentation lock.
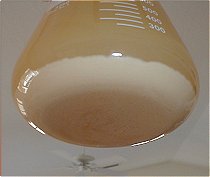
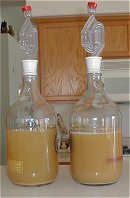
After a couple of days, you will see a nice yeast cake develop on the bottom of
your starter vessel. You will also notice that you have much more yeast than
what you started with and this was the whole point of making the starter, wasn't
it? You can also "step up" your starters to larger sizes and make even more
yeast by following the same process, only using a larger vessel with more wort.
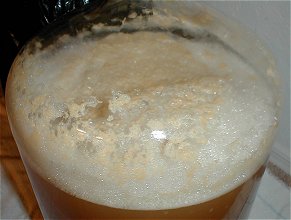
You will notice that your beers will start fermenting much quicker and usually more vigorously when you use a starter. This is what you want to happen. A healthy fermentation is a good fermentation. Well, usually! One thing to keep in mind about using starters though is that they can also wreck a batch of beer if you brew up an infected one. If the starter doesn't look right, or smell right, don't pitch it. Or pitch it down the drain and go get some good yeast at a brew shop or some other source. Like a batch of homebrew, you will occasionally have a bad one. You don't always need a yeast starter, but they are easy enough to make if you do. Like the home brewing process in general, sanitization is a critical component of the yeast starter process.
Copyright 2019 The Lunatic Fringe Home Brewery - All Rights Reserved